1. Join Guild to create an account
To start a group or online community on Guild you’ll need to be a Guild member.
If you’ve already registered as a Guild member you’ll automatically have a Basic account that allows you to set up a Group. The account name will be your name.
If you're not already registered on Guild (i.e. have not yet set up your login) then go to our Pricing page and decide which plan is right for starting your community. You can upgrade your account as your community grows.
You can start with a free Basic plan – just click Get Started.
Or you can take a free trial of the paid plans or get in touch with us if you have enterprise needs.
2. Create & customise your group
Once you’re logged in, go to Groups on the Guild web or mobile app.
You’ll see the list of groups where you’re a member (find groups to join – it will help you grow your network and get ideas for your own community)
You’ll see a New Group button at the bottom of the list. Click this to create a new group.
You’ll be prompted to give your group a name – try to choose a good name for a professional community but remember you can amend the name later if you need to.
You can also make your group discoverable or you can do this later once you’ve customized your group.
Once you’ve created your group, click on the three dots at the top right of your group home screen to edit its details. You can
- change the group name
- describe the group’s purpose
- switch the group between discoverable or not
- add additional guidelines you want your group members to follow
- edit the copy that goes in any email invites you send
- set up and edit an automated welcome DM sent from the host to all new group joiners
3. Access advanced features for your group in the web app
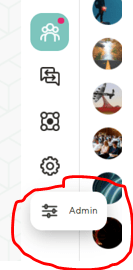
All the day-to-day admin functions are on your mobile app, but there are more admin options on the web app. Go to https://guild.co/app from any web browser.
Log in to your account and click Admin on the bottom left of the menu icons to see the full range of customizable options.
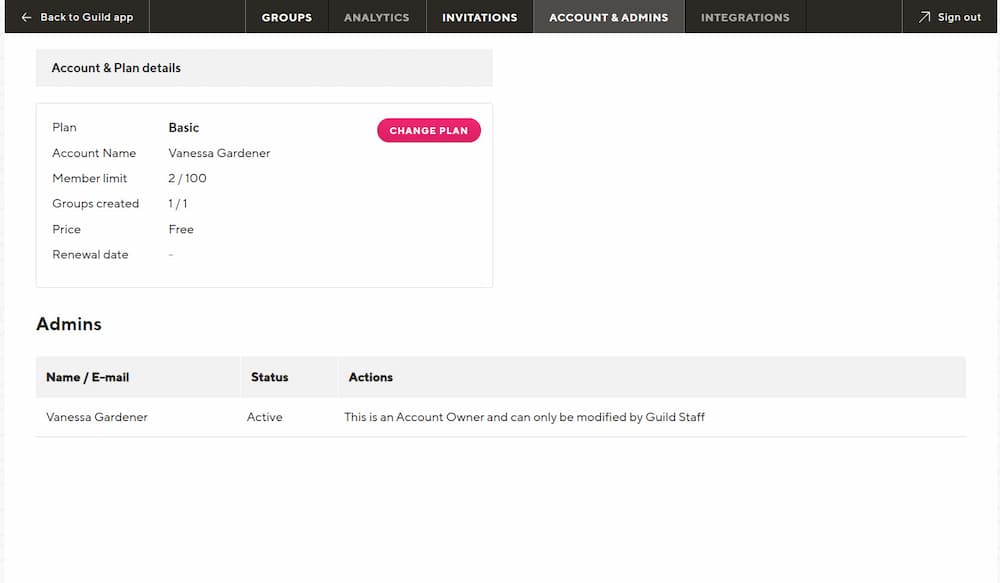
From the web app admin you can
- change the host who manages your group
- appoint additional admins and moderators on paid plans. Find out more about the different types of Guild users
- Highlight if there is a cost to join your group
- Edit your group name
- Change the header background if you have a basic group or change your group branding on a paid plan
*IMPORTANT*: decide whether you want your group to be discoverable or not and enable/disable this setting accordingly. Learn more about discoverable groups and their benefits here.
4. Preview your group in the app
Click 'Back to Guild app' in the top left of the web admin so you can preview how your group will look to members:
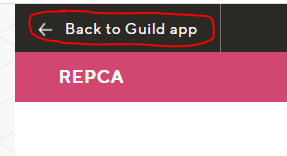
Click on your group's name in the Groups section to see what it looks like. Do the same on your mobile app too.
Customize and preview your group as much as you need to until you’re happy with its appearance.
5. Post and pin a welcome message
In the app (mobile or web), click on your group name and then click the New Converstion button on the right of the screen.
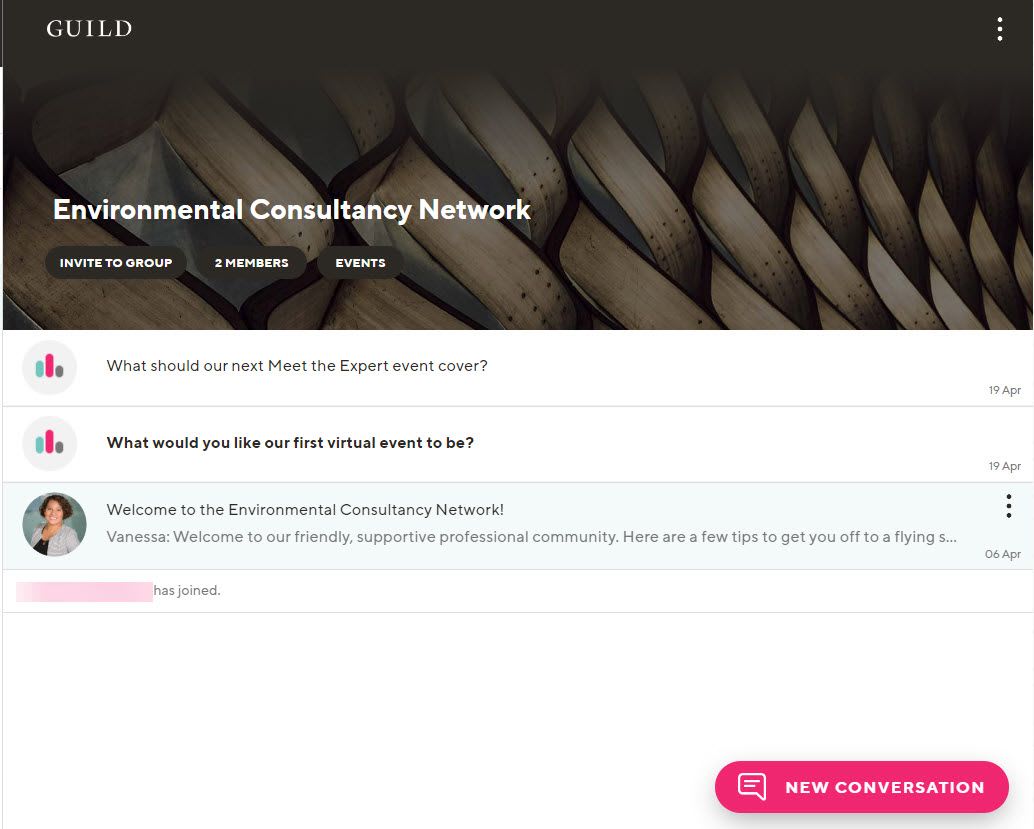
Write a welcome message for new joiners to your group. Don't worry, you can always edit or delete it at any time later.
Your welcome message can have files attached (e.g. a PDF welcome pack) or you could record and attach a short welcome video via your phone to explain the purpose of your Guild group and introduce the group host. You could adapt this basic message:
Subject: Welcome to [group name]
Welcome to our group. Find out more about this group and its members by tapping the group name above or via the three dots 'more' icon top right.
The main nav has the Groups you belong to, Direct Messages, My Network (everyone you share a group with) and Settings. Tap/click your photo top left to complete your Profile e.g. with links to more about you and your business.
You can use the web version of Guild on your desktop/laptop too – can be easier to type etc. That is at https://guild.co/app/ (only viewable on desktop/laptop).
Please post an intro message to the group about you!
Pin your welcome message so it stays at the top. (Tip: you can pin up to 3 conversations at a time).
6. Send invitations to join your group!
Now it’s time for the final and most exciting step - getting members to join your Guild group!
There are several ways you can invite your members to join your group: via a unique invite link or email or via your group's landing page (if it is a discoverable group). You can explore the different options in this guide to growing your community on Guild.
You may also choose to make your group discoverable. This means it will have its own landing page on the Guild groups directory and any member can request to join. You still have control over who you accept as a member. Find out more about discoverable groups on Guild.
7. Change the group host (all plans) or add admins and moderators (paid plans)
If you’re on a Basic plan then you’re in charge of your group – you are the Account Owner and have full admin powers. You can appoint another member as a host (for example, if you would like a colleague or assistant to administer your group).
If you’re on a paid plan there are additional roles you can assign – see the pricing page for details.
A group's Host can invite/remove group members and delete any message but he/she does not get access to the web admin.
What next?
Now you've set up your group(s), we've written some articles on ways to keep your Guild community engaged from the very start:
Get off to a great start with your Guild groups
Ways to create engagement within your groups
Engage your members with polls
Make your profile discoverable
Join Guild 🤝
See for yourself how the Guild experience is different to WhatsApp, Slack, LinkedIn or Facebook Groups.
Guild is a safe space to connect, communicate and collaborate with others.
Join us on a platform that is purpose-built for creating groups, communities and networks on mobile.